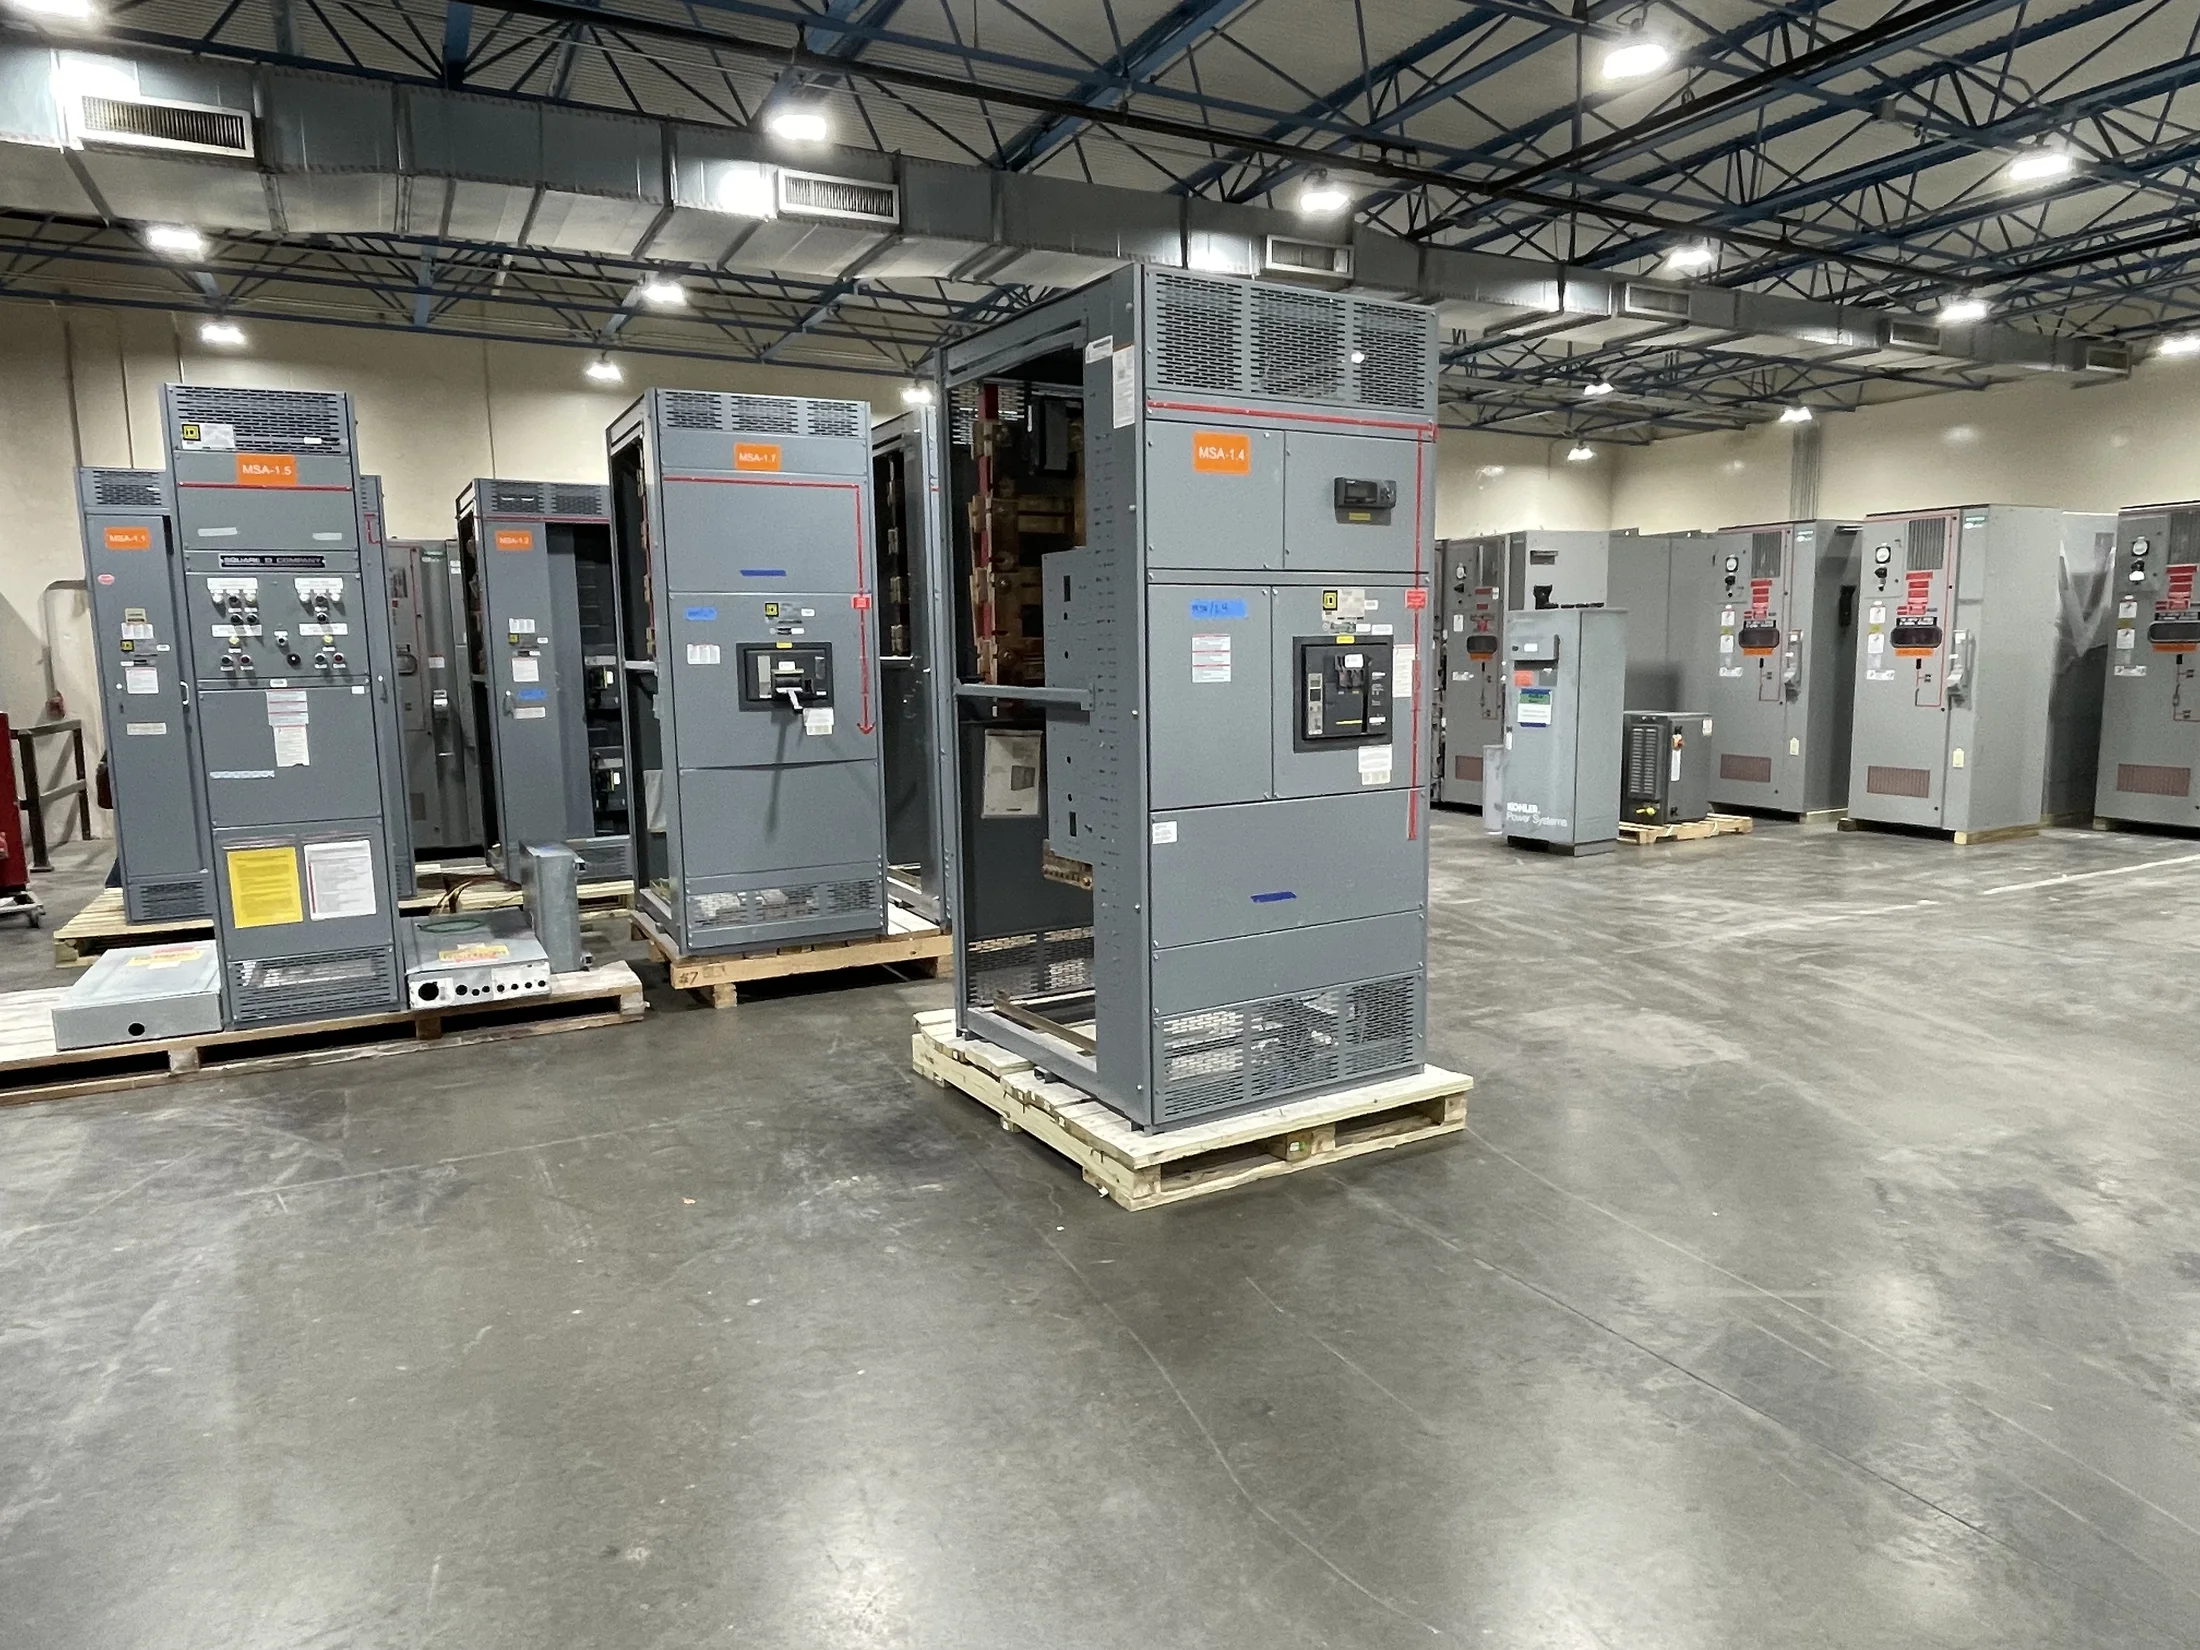
Start with the Electrical Basis
Treat 3000 A as a design starting point, not a complete equipment specification. Confirm system voltage, phase and wire configuration, frequency, available fault current, grounding method, and source arrangement. These details influence the lineup architecture, interrupting and withstand requirements, bus design, and the devices needed for protection and isolation.
Document both present loads and expected expansion, including large motors, process equipment, and planned capacity additions. The responsible engineer should verify load calculations, demand assumptions, and applicable code requirements. A 3000 A main rating does not establish that every branch device, feeder, or connected load can carry that current.
Select the Right Equipment Class
For low-voltage distribution, distinguish a UL 891 switchboard from UL 1558 low-voltage switchgear when developing the specification. They are different equipment classes, with construction and application considerations that should be evaluated against the project’s operating, protection, and maintenance needs. The 3000 A value alone does not determine which class is appropriate.
If the service is medium voltage, specify medium-voltage equipment separately; UL 891 does not cover medium- or high-voltage equipment. Confirm the point of transformation and the voltage at the lineup. The engineer, utility, and authority having jurisdiction should review the proposed arrangement and applicable requirements before equipment details are finalized.
Lay Out the Distribution Lineup
Map the lineup by function: incoming service or transformer connection, main protection, bus sections, feeder devices, metering, and any tie or alternate-source equipment. Identify which loads require dedicated feeders and whether future spaces or provisions are needed. A one-line diagram and preliminary elevation make device grouping and section boundaries easier to review.
The physical arrangement depends on device types, conductor routing, enclosure dimensions, and site constraints; do not assume a standard section count or footprint. Consider how a main or tie device will be operated and maintained, and whether adjacent equipment or walls restrict access. Confirm the proposed lineup orientation before fixing the room plan.
Choose Cable-Entry and Termination Paths
Decide whether incoming and outgoing conductors will enter from above, below, or through another project-defined route. Top entry may require overhead tray or conduit coordination; bottom entry depends on trench, floor openings, and stub-up locations. The selected path affects section layout, termination space, conductor bends, and installation sequencing.
Provide conductor material, quantity per phase, insulation and temperature information, and the intended lug or termination arrangement where known. Confirm conduit sizes, entry locations, and bend space with the electrical designer and installer. Cable ampacity and termination limits must be checked for the actual installation rather than inferred from the 3000 A lineup rating.
Reserve Room for Conductors and Access
Cable space is a design constraint, not leftover volume. Large conductors need room to enter, bend, land, and be supported without obstructing barriers or devices. Share preliminary cable schedules and routing drawings early, especially where multiple parallel sets, large lugs, or closely spaced conduits are anticipated.
Coordinate the lineup with room dimensions, door swings, overhead services, floor conditions, and the required electrical working space. Verify clearances against applicable codes and the equipment drawings for the selected configuration. Also consider how sections will be moved into position, including access routes, turning clearances, and any limits on delivery or rigging.
Plan for Inspection and Service
Service access should be evaluated around the work technicians will perform: operating devices, inspecting connections, testing protection, and replacing or maintaining components as applicable to the specified equipment. Confirm access to doors, handles, test points, and removable parts without relying on space that will later be occupied by piping, storage, or other systems.
Establish who needs access from the front, rear, or sides, and whether the installation allows the intended approach. Requirements vary by equipment construction and project design. Review access with the facility team and responsible engineer, and verify working space and maintenance procedures against the final equipment arrangement and site rules.
Coordinate Protection, Sources, and Controls
Define the protective-device functions and coordination objectives for the service and feeders. Provide available fault-current information, upstream device data, transformer details, and any study results that apply. The engineer should assess selective coordination, arc-flash considerations, and device settings for the actual system; these outcomes cannot be assumed from a 3000 A rating.
Identify utility requirements, metering provisions, control power, interlocks, alarms, and any generator or alternate-source interface. State whether the project expects a tie, transfer arrangement, or future connection, then have the design team confirm the operating sequence. Equipment options and control details depend on the one-line diagram and approved project requirements.
Prepare a Complete Quote Package
For a useful quotation, provide the one-line diagram, load and feeder schedule, system voltage, phase and grounding details, fault-current data, and requested equipment class. Include cable-entry direction, conductor information, room or lineup dimensions, preferred device arrangement, and any site-specific access or delivery constraints.
Identify required documentation, schedule needs, utility or AHJ review status, and any project specifications that affect construction. The manufacturer builds new equipment in the U.S. with American components, offers custom fabrication, short lead times, and nationwide shipping; confirm project-specific scope and schedule during quoting. Designs should be checked by the responsible engineer, utility, and AHJ where relevant.