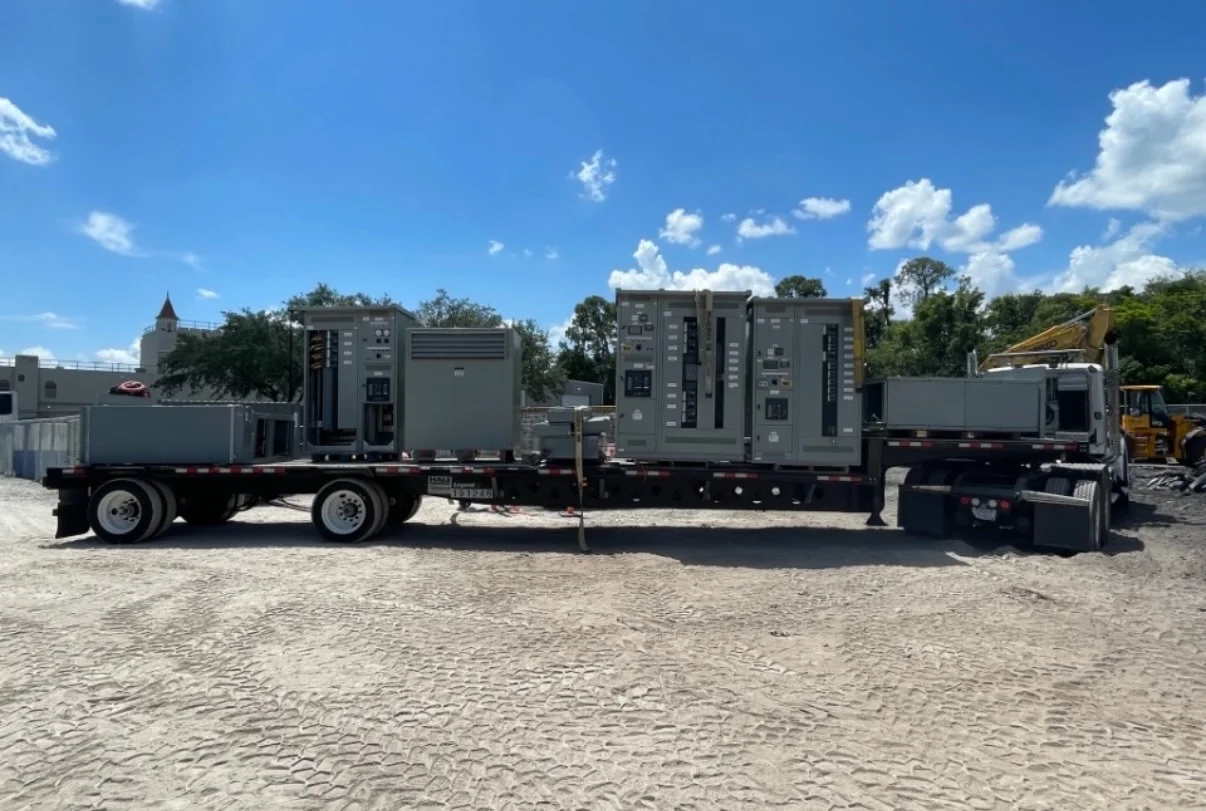
Start with the housed equipment
A walk-in enclosure creates an indoor work area around electrical equipment, so its dimensions should follow the actual lineup and service tasks—not a generic shed footprint. Identify switchboards, switchgear, transformers, control panels, batteries, and auxiliary systems, then provide their drawings, dimensions, weights, and connection points for layout review.
Equipment type matters. Low-voltage switchboards built to UL 891 are distinct from low-voltage switchgear built to UL 1558, and neither standard describes medium-voltage equipment. Confirm the intended voltage class, construction, and applicable requirements with the responsible engineer; the enclosure design must suit the specified equipment rather than imply a certification.
Lay out safe personnel access
Map the route from each entrance to operating handles, meter displays, controls, and maintenance points. Door swing, aisle width, equipment depth, and obstructions affect whether personnel can approach and service equipment as intended. Required working space depends on the installation and applicable electrical codes; have the responsible engineer verify clearances.
Consider how large components will enter and leave the enclosure. A personnel door may not accommodate a replacement transformer or switchgear section, so confirm the largest shipping and service dimensions, removal path, and any need for removable panels or larger access doors. Also review thresholds, ramps, door hardware, and accessible egress for the site.
Match ventilation to heat loads
Ventilation planning begins with heat dissipation from the equipment and the enclosure’s expected ambient conditions. Gather manufacturer heat-loss data where available, along with outdoor design temperatures, solar exposure, altitude, and operating profile. These inputs help the engineer assess whether passive airflow, powered ventilation, or a separate cooling approach is appropriate.
Air openings, fans, filters, and cooling equipment affect enclosure integrity and maintenance. Their placement should account for rain, dust, corrosive atmosphere, noise limits, and the risk of drawing contaminants across energized components. Confirm any required temperature limits, environmental rating, redundancy, alarms, or remote monitoring; these are project decisions, not automatic features.
Specify useful interior lighting
Interior lighting should support routine readings, switching, inspection, and maintenance across the full equipment lineup. Identify work locations, shadow-prone areas, ceiling height, and expected tasks so lighting can be placed where personnel need it. The responsible designer should determine illumination levels and whether emergency or egress lighting is required by the project.
Coordinate fixtures with bus duct, cable routes, ventilation equipment, and overhead lifting or service needs. Specify switching locations near entrances, and decide whether controls, occupancy sensors, or exterior lighting are needed. Confirm power source, circuit protection, wiring method, and any backup requirement rather than assuming these items are included in every enclosure.
Coordinate doors, exits, and egress
Door quantity and location depend on enclosure dimensions, equipment arrangement, personnel access, and the applicable egress rules. Review whether doors open inward or outward, how they interact with equipment working space, and whether more than one exit is needed. The site’s fire and building requirements may also affect door construction and hardware.
For outdoor installations, weather seals, drainage at thresholds, corrosion exposure, and wind conditions deserve early attention. For indoor installations, verify corridor access, overhead clearance, floor loading, and the delivery route into the building. Share the intended installation location and site constraints so the enclosure layout can be coordinated before fabrication.
Plan cable entry and site interfaces
Cable and conduit entry locations should align with the equipment’s bottom, top, or side-entry arrangement and the site’s underground or overhead routing. Provide a foundation plan, cable schedule, conduit sizes, entry zones, and any separation requirements. Confirm bend space and termination access so incoming conductors do not obstruct aisles or service areas.
The enclosure may also need interfaces for grounding, control wiring, communications, HVAC, fire detection, or utility connections. Identify which systems are supplied by others and who is responsible for field connections. Review grounding and bonding details, utility requirements, and the authority having jurisdiction’s expectations before finalizing penetrations or layout.
Choose construction for the environment
Construction choices should reflect whether the enclosure is installed indoors or outdoors and the conditions it will face. Discuss material, finish, insulation, roof design, floor construction, and environmental protection in relation to moisture, temperature, chemicals, and coastal or industrial exposure. Do not assume a particular rating or material is suitable without project review.
Foundation and transport constraints can shape the design as much as equipment does. Confirm the site’s bearing capacity, anchorage needs, access for delivery, lifting points, shipping dimensions, and whether the enclosure arrives in one assembly or sections. Project-specific structural loads, seismic criteria, and wind exposure should be evaluated by the appropriate design professionals.
Prepare information for a buildable quote
A useful quote request includes the one-line diagram, equipment schedule, lineup drawings, ratings, heat-loss data, cable-entry plan, and preferred enclosure dimensions. Add access and lighting requirements, environmental conditions, applicable codes, site location, foundation information, and delivery constraints. Flag open design questions so they can be resolved rather than treated as assumed features.
A U.S. manufacturer can custom-fabricate new walk-in enclosures and coordinate them with new power distribution equipment, with short lead times and nationwide shipping. Schedule depends on finalized scope, components, and engineering review. Before release, have the responsible engineer check the design and coordinate utility and AHJ requirements where applicable.