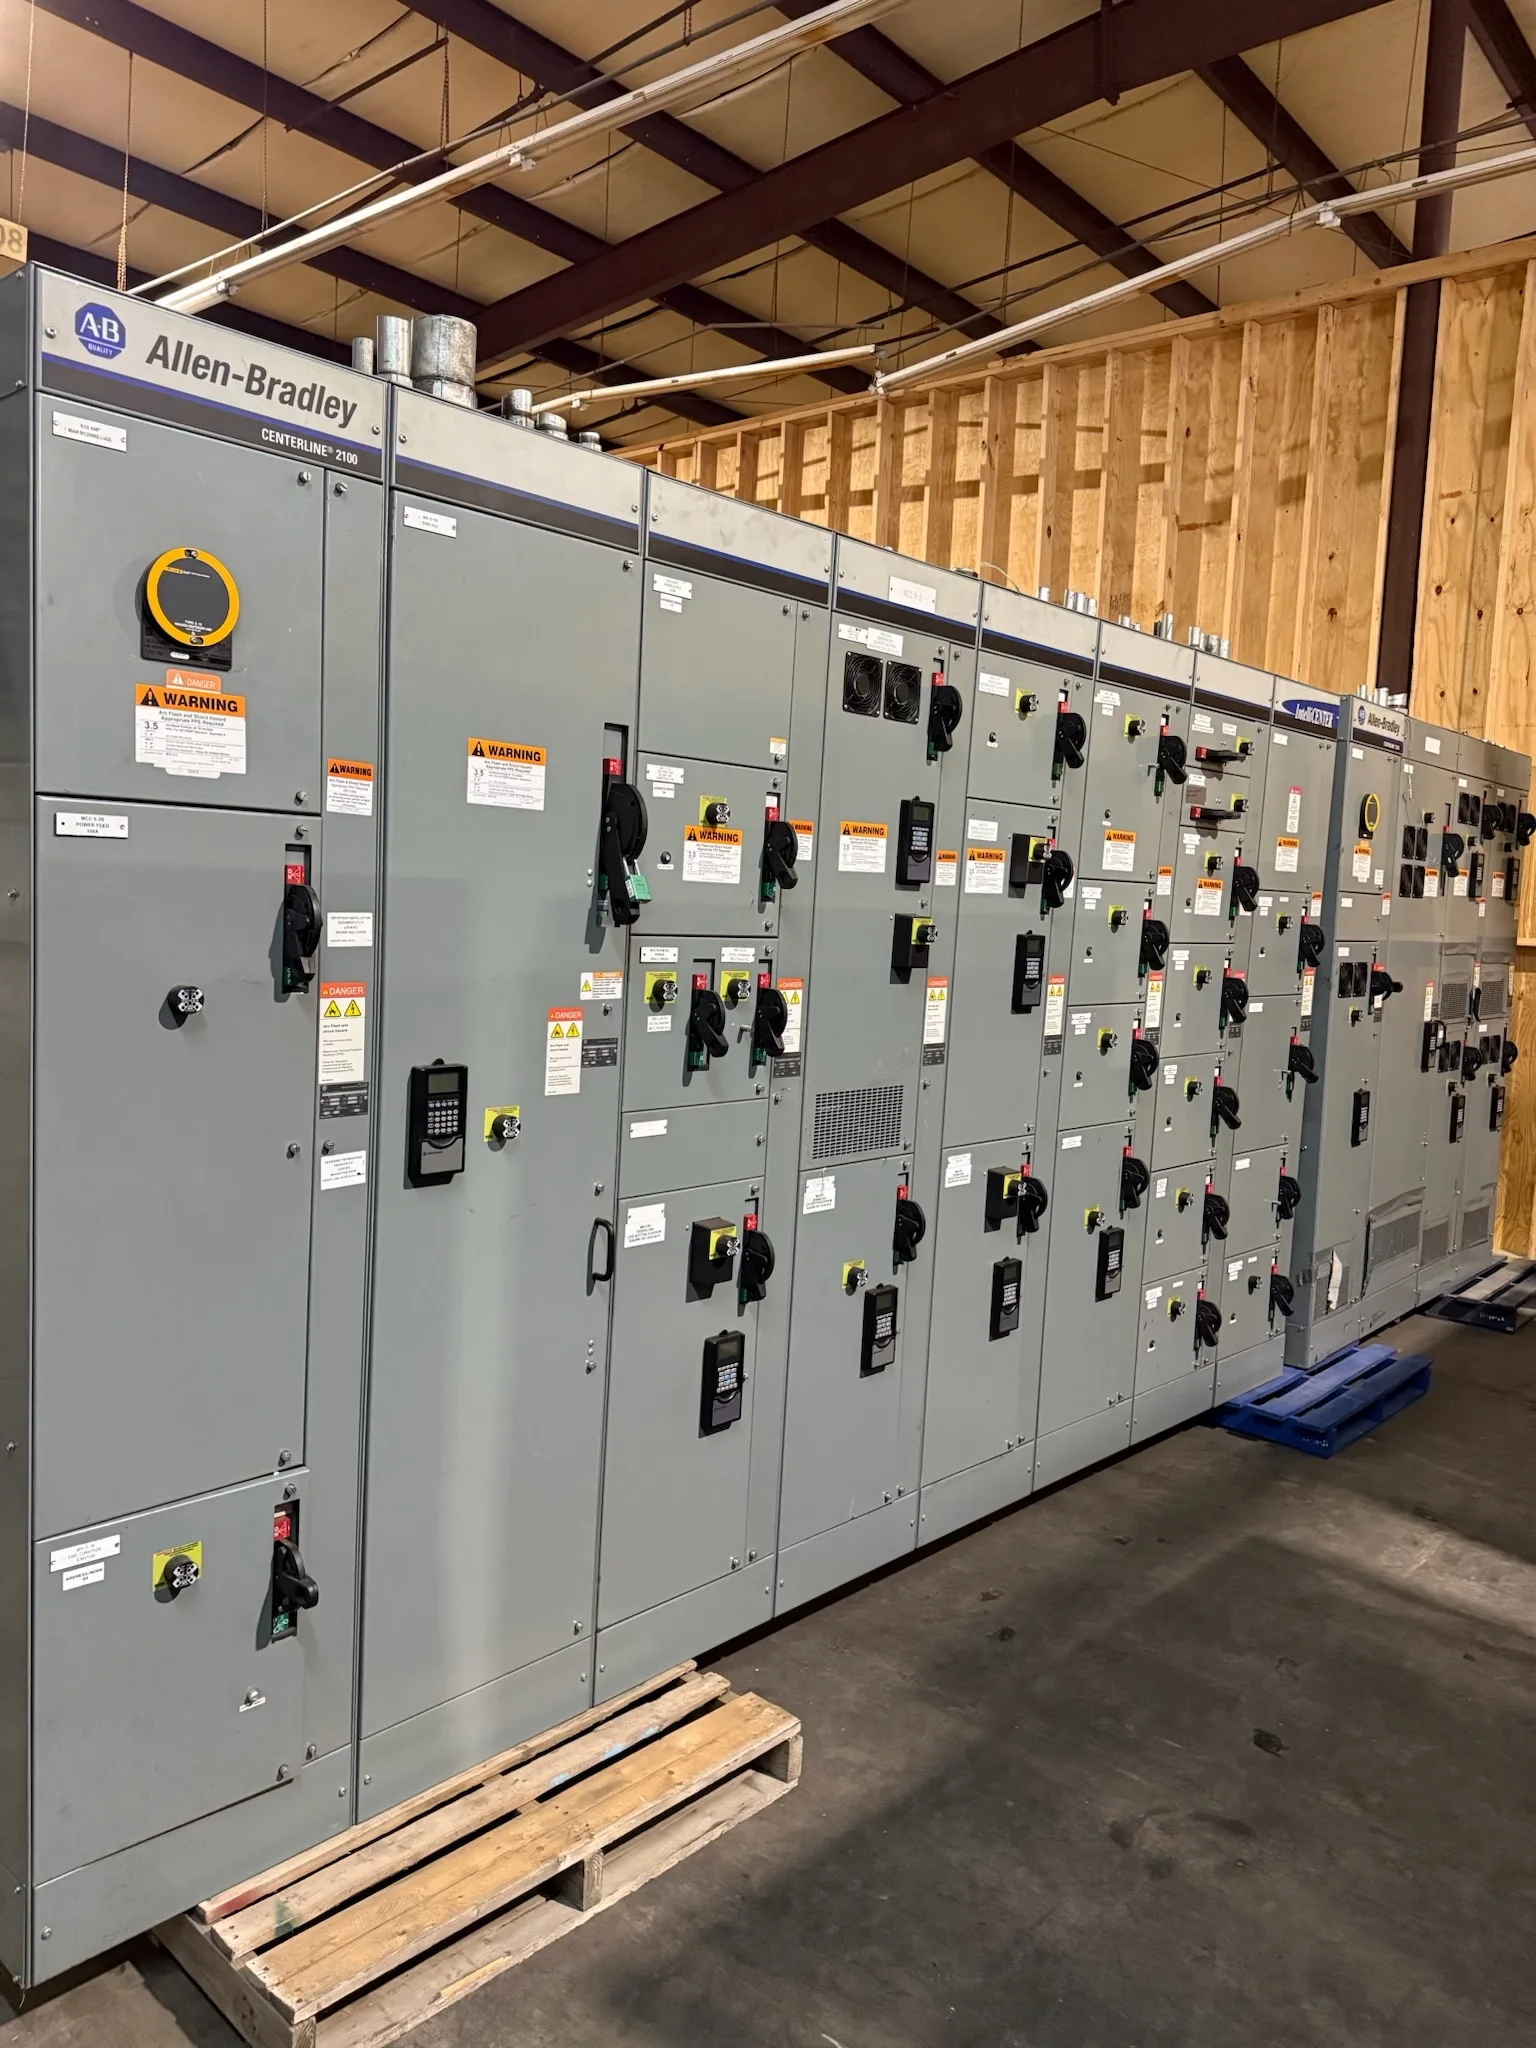
Start with the Operating Sequence
Layout begins with what operators and maintenance staff must do, not simply where components fit. Identify routine adjustments, reset actions, status checks, and isolation points, then place the associated devices for clear identification and practical access. The required reach, viewing angle, and door-open clearance depend on the installation.
Provide the intended operating sequence, control narrative, device list, and enclosure orientation when requesting a quote. Note whether the panel is wall-mounted, floor-standing, or integrated with other equipment, along with access restrictions and the working space available. The responsible engineer should confirm applicable codes and site requirements.
Make Devices Accessible for Service
Arrange components so technicians can inspect, test, and replace them without routinely removing unrelated devices or disturbing adjacent wiring. Consider tool clearance, removable covers, connector access, and the direction in which components withdraw. A dense arrangement may fit on paper yet prove difficult to service after installation.
Frequently adjusted controls may call for front-panel access, while relays, power supplies, and protective devices may be better located on the backplate. Confirm which items require operator access and which are intended for qualified service personnel. Door-mounted equipment also requires checking moving wire loops and mechanical interference.
Plan Wire Routes Before Placing Components
Wireway placement and component locations should be developed together. Estimate conductor entry points, routing distances, bend space, and paths between devices before fixing the arrangement. Keep routes legible and avoid forcing conductors across access areas or around sharp obstacles. Actual bend allowances depend on conductor type and applicable requirements.
Share cable-entry locations, field wiring direction, conductor sizes, and anticipated cable counts during design. Bottom, top, or side entry can affect wireway and terminal placement, as well as enclosure space. Where routing depends on field conditions, identify assumptions for review rather than treating them as guaranteed installation clearances.
Reserve Adequate Terminal Space
Terminal blocks need more than the physical width of the selected terminals. Layout space may also be needed for end stops, markers, jumpers, shields, test access, and conductor bend radius. Separate groups by function or destination when that improves troubleshooting, and leave usable room for field conductors and labeling.
A point-to-point I/O schedule, terminal plan, and field cable schedule help establish capacity. Identify spare points requested, signal types, conductor sizes, and whether shield termination is required. Spare terminals or capacity should be specified and reviewed; they should not be assumed from an empty-looking area in a preliminary drawing.
Separate Control and Power Circuits
Control and power conductors may need distinct routing to limit coupling, support safe work practices, and make circuits easier to trace. The appropriate separation depends on voltage, signal sensitivity, wiring methods, equipment design, and governing standards. Use segregated wireways, spacing, barriers, or other measures only as confirmed for the application.
Identify motor circuits, control voltages, analog signals, communications, and any specified isolation requirements. The engineer should determine applicable separation and grounding practices, including how shields are handled. A layout can support those decisions, but a drawing alone does not establish compliance or guarantee noise-free operation.
Coordinate Enclosure and Thermal Constraints
Component arrangement must fit the selected enclosure and account for mounting depth, door swing, environmental conditions, and heat-producing devices. Grouping equipment tightly can restrict access and affect heat dissipation. Confirm ambient conditions, ventilation preferences, hazardous-location needs if applicable, and the mounting surface before settling the panel footprint.
Provide enclosure dimensions or maximum available space, indoor or outdoor location, and any washdown, dust, or corrosion concerns. Heat loads and environmental requirements may influence component selection and arrangement. Final enclosure construction, cooling approach, and ratings must be established for the specific design and verified by the responsible parties.
Keep Identification and Drawings Consistent
Clear labels and coordinated drawings help technicians relate physical devices to schematics, terminal numbers, and field cables. Allow label visibility when doors are open and avoid placing identifiers where wire bundles or neighboring devices obscure them. Consistent grouping by function can make fault tracing and planned maintenance more straightforward.
For estimating and design, provide available schematics, device tags, preferred labeling conventions, and revision status. Note whether the panel must match an existing numbering system or interface with other equipment. The manufacturer can develop a layout from project information, while the customer and engineer review it for operational intent.
Prepare a Complete Layout Quote Package
A useful quote package includes the schematic, bill of materials or device requirements, I/O schedule, enclosure constraints, cable-entry details, and expected field connections. Also identify required drawings, documentation, and any interface points. Missing information can change terminal counts, wireway space, component locations, and fabrication scope after initial review.
We manufacture new custom electrical equipment in the U.S. using American components and can ship nationwide. Share the project schedule, delivery destination, drawing revisions, and requested configuration so the scope can be evaluated. Lead time depends on design completeness, component availability, and fabrication requirements; confirm project-specific details before release.