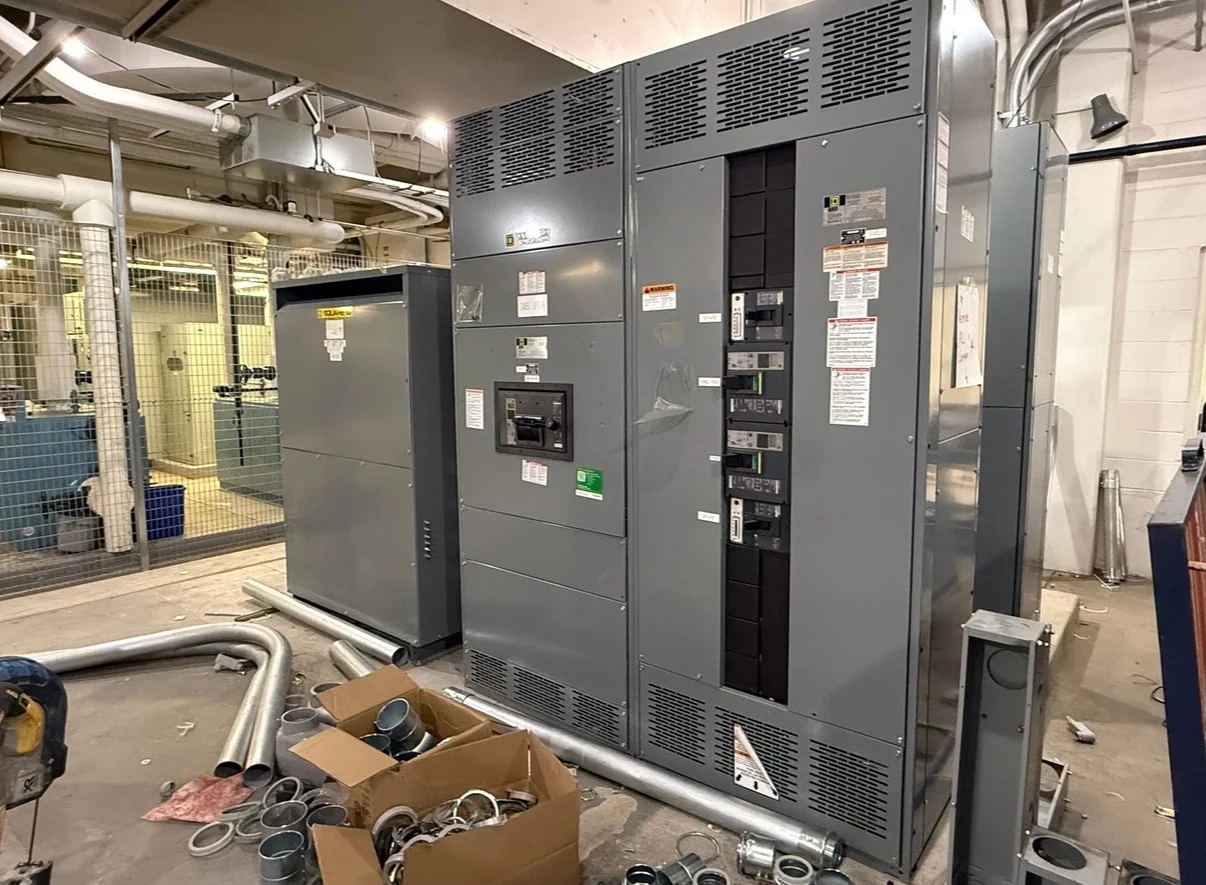
Start with the actual conductor package
Cable space depends on more than the conductor’s nominal AWG or kcmil size. Insulation type, voltage class, conductor material, shielding, number of parallel runs, and manufacturer-specific outside diameter all affect the envelope at the termination. Gather cable data sheets for the proposed installation rather than estimating from conductor size alone.
Include the number of conductors per phase, neutral and equipment grounding conductors, and any control or auxiliary wiring sharing the compartment. For parallel sets, identify how the sets are arranged and whether phase conductors must remain grouped. These details help establish a realistic routing and termination layout for the equipment being quoted.
Verify bend radius along the full route
Cable bend radius is determined by the cable manufacturer and construction; it should not be inferred from the available cabinet depth. Confirm the applicable minimum radius for the intended installation, including whether the published value applies during pulling or after installation. Shielded, armored, and larger conductors may need different routing allowances.
Check the path from the entry point to each lug, not just the space immediately beside the terminals. Obstacles, barriers, bus supports, cable clamps, and a change in direction can create a tighter bend than a simple compartment measurement suggests. The responsible engineer and installer should verify the proposed route against cable requirements.
Coordinate lug layout and conductor approach
Lug count, orientation, and spacing must suit the planned conductor count and termination method. Confirm lug mounting pattern, conductor range, material compatibility, and whether compression or mechanical lugs are specified. The equipment design must also account for any required phase spacing, barriers, and clearances applicable to the chosen assembly and installation.
Identify whether cables approach from above, below, or another direction, and show the intended phase sequence and parallel-set arrangement. A lug layout that works for one entry direction may obstruct another conductor’s bend or access to adjacent terminals. Provide the preferred termination arrangement with the quote request so it can be reviewed before fabrication.
Measure usable compartment working room
Overall enclosure dimensions do not describe the space available for cable work. Internal structures, deadfronts, barriers, neutral assemblies, grounding provisions, and adjacent devices reduce usable volume. Share equipment elevations or outline drawings where available, and identify the termination area that needs to accommodate the specified cables and lug arrangement.
Also consider the room needed to position, form, and secure conductors during installation. Cable pulling equipment, bend-control tools, and installer hand access may require more space than the final static arrangement. The contractor should confirm the working approach and access conditions; the manufacturer can review the stated constraints as part of configuration development.
Choose entry provisions with the site in mind
Cable entry affects both routing and the equipment’s construction. State whether conductors enter through the top, bottom, or a defined side, and provide the intended conduit or cable-tray locations. Include entry dimensions and spacing, anticipated stub-up positions, and any site restrictions that could limit openings or conductor movement.
Review entry locations against the foundation, housekeeping pad, cable trench, and nearby structures. A conduit bank centered under a compartment may not align with the selected lug positions or permit the required bend radius. These are project-specific conditions, so coordinate enclosure drawings with the electrical layout and installation plan before approving final dimensions.
Account for voltage class and equipment type
Termination space must be assessed within the correct equipment category. A low-voltage switchboard built to UL 891 is distinct from low-voltage switchgear built to UL 1558; neither designation describes medium-voltage equipment. Internal construction, compartments, and termination arrangements vary, so identify the requested equipment type and applicable project specifications.
For medium-voltage equipment, cable terminations and clearances follow different design considerations from low-voltage lineups. Do not transfer assumptions about lug access or cable space between equipment classes. The engineer should define voltage, system arrangement, and termination requirements, while the utility and authority having jurisdiction review matters within their scope where applicable.
Provide quote information that supports review
A useful quote package includes one-line diagrams, cable schedules, conductor data sheets, entry direction, and available plan or elevation drawings. Identify the exact quantity and size of each conductor, insulation and shielding details, parallel-run count, lug preferences, and required neutral or grounding connections. Flag dimensions that are fixed by the site rather than preliminary.
Include installation constraints such as limited access, trench or conduit locations, and the planned cable-pulling direction. Note any specified lug manufacturer or termination standard, while allowing the design team to determine compatibility with the equipment configuration. Clear inputs reduce assumptions and help identify questions before drawings and fabrication details are finalized.
Resolve fit before release for fabrication
Treat cable routing as a coordinated design review, not a field adjustment to be assumed later. Compare the proposed cable envelope, bend path, lug positions, and entry openings against equipment drawings and the installation space. Resolve conflicts before release, and document any agreed arrangement so the contractor can plan conduits and conductors consistently.
A U.S. manufacturer can custom-fabricate new switchboards and power distribution equipment using American components, with short lead times and nationwide shipping. Schedule and configuration depend on project requirements and review; no particular enclosure dimension or termination feature should be assumed without confirmation. Have the responsible engineer, utility, and AHJ check applicable design and installation requirements.