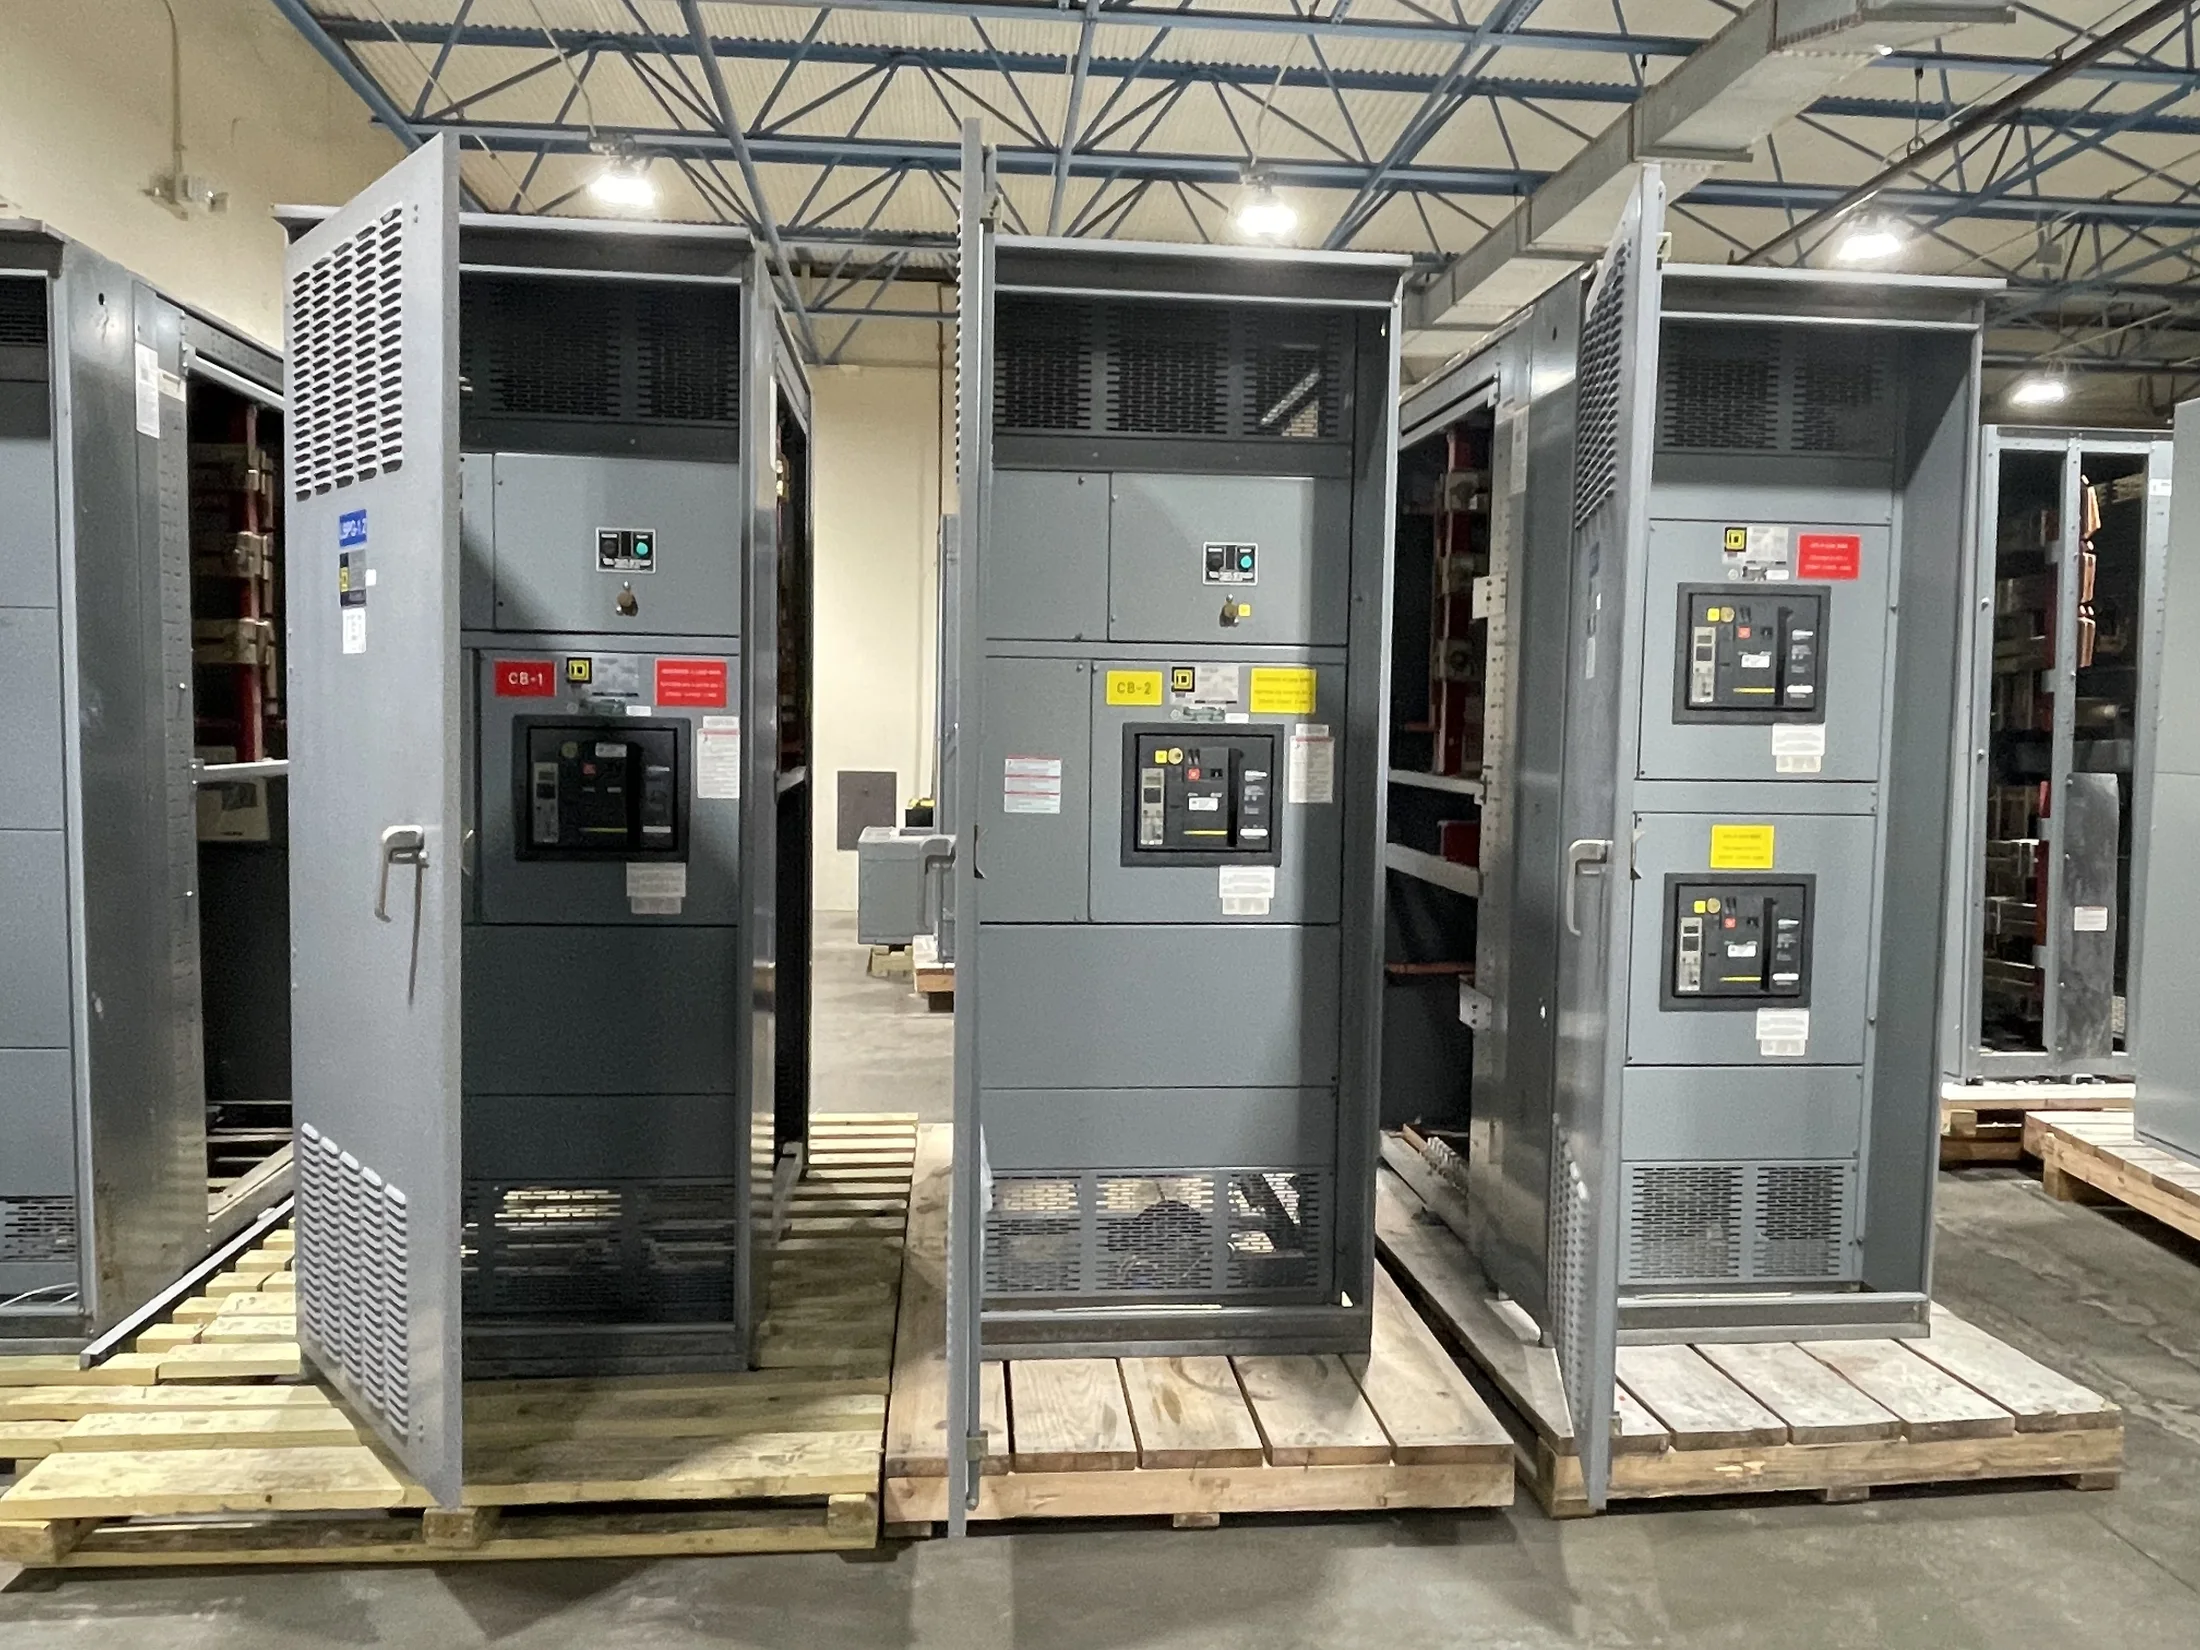
Choose the Cable Route Around the Site
For a Springfield outdoor installation, start by tracing the cable path from the source and load to the proposed equipment location. Top entry may suit overhead feeders or elevated cable routes; bottom entry may align with underground duct banks. The choice depends on actual site geometry, not a default enclosure preference.
Review access roads, adjacent structures, drainage, snow-management practices and the location of existing utilities before fixing the route. The responsible engineer should confirm cable bend limits, pulling access and required working space. Share a plan view and equipment elevations so the switchgear layout can be coordinated with the site.
Compare Top and Bottom Entry
Top entry can reduce underground transitions, but it requires a practical means to support and protect incoming conductors above the enclosure. Confirm the conduit approach, cable drop, terminal location and clearance from roof features. Rain exposure at fittings and the need to preserve access for maintenance also warrant review.
Bottom entry can connect directly to below-grade conduits, but the foundation, housekeeping pad and duct-bank elevations must leave room for terminations and bends. Check for water accumulation, drainage paths and obstructions beneath the gear. The equipment arrangement and cable compartment must accommodate the actual conductor route and pulling space.
Coordinate Conduit Before Fabrication
Provide conduit sizes, quantities, materials, entry locations and center-to-center spacing with the equipment request. Include a dimensioned foundation or duct-bank drawing and identify which conduits carry incoming, outgoing, control or communications circuits. These details help determine whether entry plates, compartments and internal routing can be arranged as intended.
Conduit placement should be checked against switchgear sections, barriers, bus and termination areas rather than estimated from a general footprint. Confirm the cable manufacturer’s bend-radius requirements and the conductor’s size and quantity. The electrical design team should resolve conflicts between conduit, grounding conductors and service access before release for fabrication.
Treat Sealing as a Designed Interface
Outdoor sealing depends on the complete installation, including enclosure openings, conduit hubs, fittings, gaskets and field workmanship. Identify the exposure conditions and the applicable enclosure requirements for the project. Do not assume that a field-cut opening or an unspecified conduit fitting will preserve the intended environmental protection.
For Springfield sites, consider wind-driven rain, seasonal temperature changes, snow and nearby washdown or process exposure when defining the installation. Confirm how unused openings will be closed and whether entry hardware is furnished with the equipment or by the installing contractor. The engineer and AHJ should review the proposed sealing approach.
Check Foundation, Elevation and Drainage
The pad and equipment elevation influence both cable access and protection from surface water. Coordinate the enclosure base, conduit stub-ups, anchor locations and finished grade using project drawings. For bottom entry, verify that conductors can rise into the intended compartment without crossing structural elements or interfering with the equipment base.
For top entry, confirm supports and conduit transitions do not block doors, removable panels or lifting provisions. Site drainage should direct water away from the installation, while the mounting design must suit the specified equipment and foundation. The civil and electrical teams should reconcile elevations before concrete work begins.
Preserve Termination and Service Access
Cable entry is not complete until the installer can pull, identify, terminate and inspect conductors safely. Confirm available conductor landing space, lug requirements, cable quantities and whether terminations are front-accessible or require another access direction. The proposed route should not obstruct operating handles, doors or routine inspection points.
Consider how future maintenance will be performed with the equipment energized or de-energized, as applicable to the project procedures. Required clearances and access conditions must be established by the design documents and applicable rules. Send the manufacturer equipment elevations and access constraints so custom fabrication can reflect the intended installation.
Define Equipment and Application Boundaries
Specify the equipment type and electrical application rather than using “switchgear” as a catch-all. A low-voltage switchboard built to UL 891 is distinct from low-voltage switchgear built to UL 1558; neither standard describes medium-voltage equipment. Voltage class, service arrangement and project specifications determine the appropriate product.
For a quote, provide system voltage, phase and wire configuration, available fault-current information, main and feeder requirements, drawings and the requested entry orientation. Identify any project-specific environmental, seismic or utility criteria for review. The responsible engineer should verify system design, and the utility and AHJ should confirm requirements where applicable.
Prepare a Quote Package for Springfield
A useful request includes the project location in Springfield, one-line diagram, site plan, conduit schedule, foundation details and equipment room or outdoor elevation. Add cable data, entry preference, enclosure requirements, required accessories and the specification section. Mark dimensions that are fixed and identify items still awaiting engineering confirmation.
We manufacture new switchgear and power distribution equipment in the United States using American components, with custom fabrication and short lead times available for project needs. We supply customers in Ohio and nationwide. Once the routing and interface details are reviewed, the quote can address the requested configuration and shipping requirements.