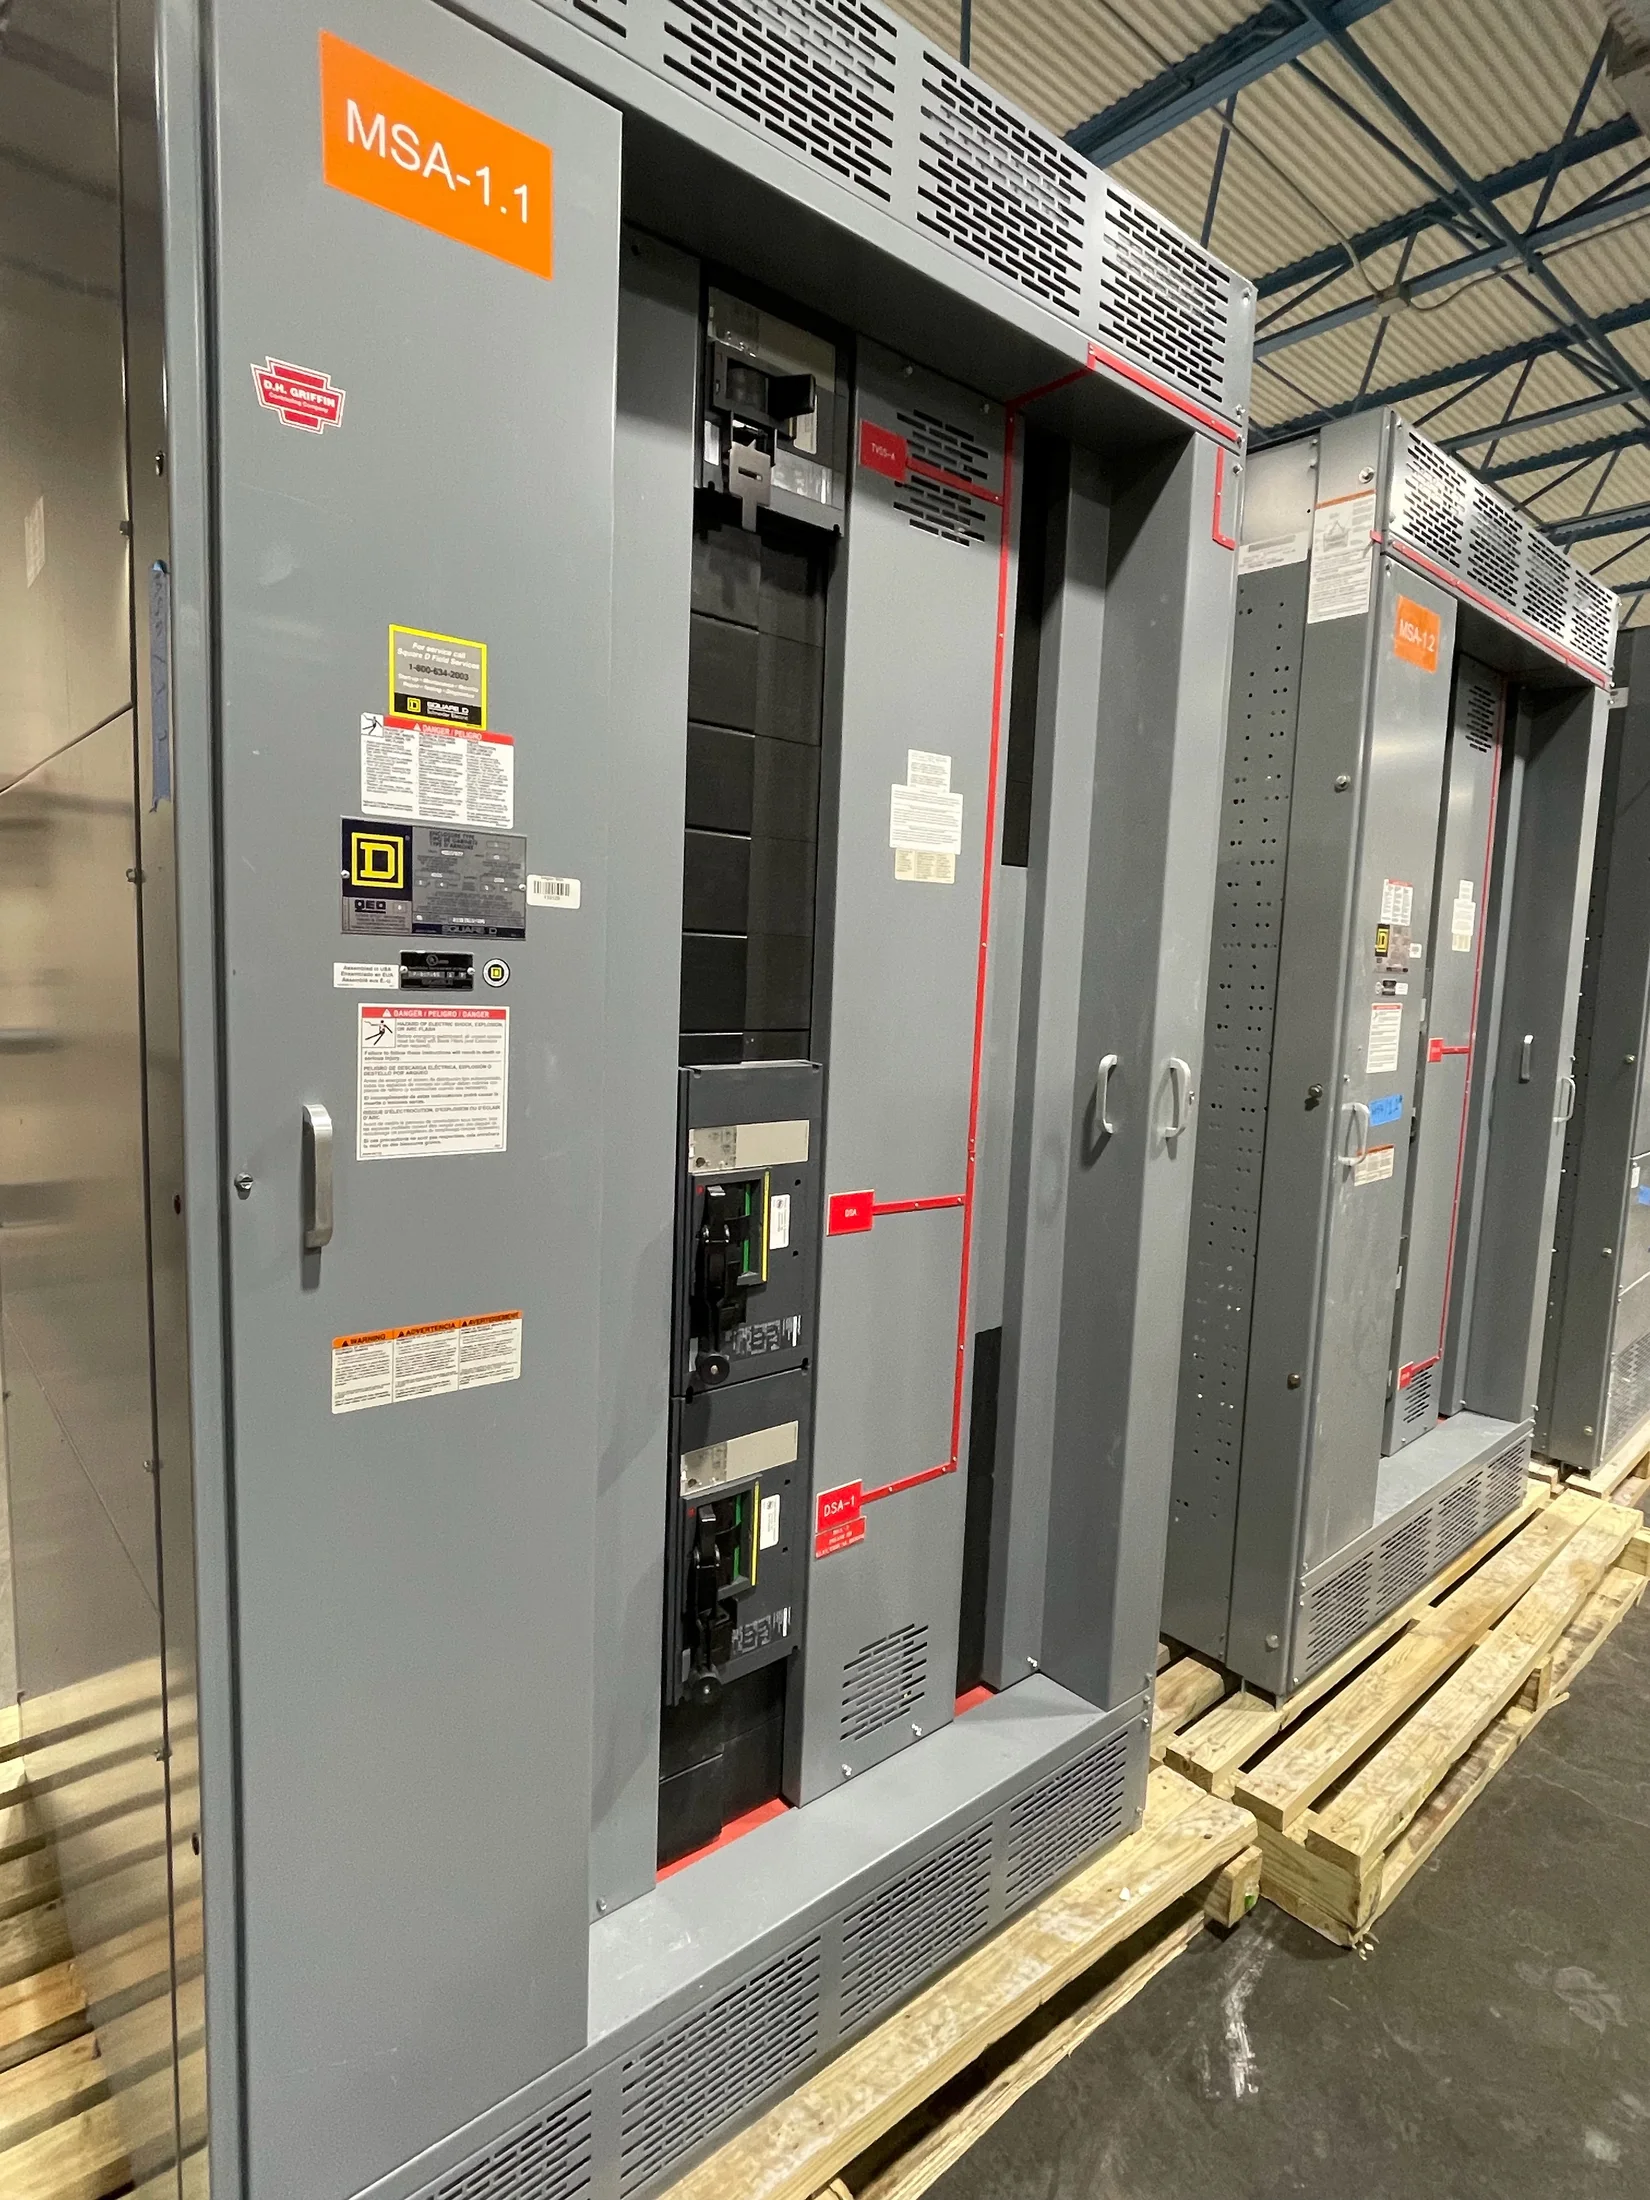
Measure the Room Beyond Its Floor Area
Record the room’s clear length, width, and height, then identify columns, beams, piping, ducts, lighting, and other obstructions. Measure from finished surfaces and note doors, recessed areas, and changes in floor elevation. A nominal room size alone cannot show whether the proposed lineup can be installed or serviced.
Provide a dimensioned plan and, where possible, photographs from several viewpoints. Include ceiling height beneath low services and the location of structural supports. These details help evaluate lineup length, section depth, access zones, cable entry, and whether equipment arrangement needs adjustment before a Parma project advances to procurement.
Establish Required Working Space
Working-space requirements depend on the equipment, system voltage, arrangement, and applicable electrical code provisions. Confirm the required clearances with the responsible electrical engineer and authority having jurisdiction; do not treat a generic room dimension as proof of compliance. The design should show usable space at operating and maintenance faces, not just an aisle label.
Check whether doors, stored materials, removable panels, or nearby equipment could intrude into designated working areas. Account for the full open position of doors and the approach needed for normal operation. Any project-specific clearances or access restrictions should be documented on the drawings and reviewed before the equipment configuration is finalized.
Choose a Configuration That Fits the Site
The equipment type affects footprint and room planning. UL 891 switchboards are distinct from UL 1558 low-voltage switchgear, and neither designation should be used as a substitute for confirming the project’s actual equipment class. Medium-voltage equipment is a separate category with its own applicable design and installation requirements.
Discuss the required distribution arrangement, service entrance or downstream role, incoming and outgoing connections, and anticipated section lineup with the manufacturer. Confirm whether front access is intended or whether the design requires access at the rear. The answer can change room depth, aisle planning, cable routing, and the location of adjacent building systems.
Plan Cable Entry and Conduit Space
Identify whether conductors enter from above or below and show the proposed routes, conduit locations, and bends. Confirm available space for cable pulling, termination, and separation from other services. A lineup may fit within the room boundary yet remain impractical if conduit stubs, cable bend requirements, or overhead routing conflict with the equipment.
Share conductor information and the engineer’s connection assumptions when available, including quantities and approximate sizes. Final cable details must be coordinated with the equipment design and installation conditions. Flag existing trenches, floor openings, raised floors, and limits on coring, since these can affect section placement and the construction scope.
Account for Installation and Replacement Routes
Map the route from the delivery point to the electrical room, including exterior doors, corridors, elevators, ramps, and turns. Record clear opening dimensions and any weight or floor-loading restrictions known to the facility. Confirm whether the equipment can be moved as a lineup or must be handled in sections; that decision depends on the build and site conditions.
Consider temporary obstructions and the sequence of construction, not just the final room layout. A narrow doorway or tight turn can require a revised lineup arrangement or a planned opening in the building envelope. Provide route measurements early so the manufacturer and project team can discuss feasible delivery and handling assumptions before shipment is scheduled.
Preserve Access for Service and Operation
Show the space needed to open equipment doors, inspect components, operate controls, and perform planned maintenance. Consider lighting, receptacles, ventilation equipment, and building controls that may occupy the same room. Confirm that access remains available with adjacent doors open and that routine facility traffic does not depend on crossing restricted working space.
Ask the responsible engineer to identify any service access required at the sides or rear, along with component removal or future maintenance considerations. These needs vary by design and should be confirmed rather than assumed. Keep permanent storage, shelving, and unrelated piping out of designated access areas, and reflect fixed obstructions in the room drawings.
Coordinate Building and Electrical Constraints
Review ventilation, ambient conditions, housekeeping pads, floor flatness, seismic or anchorage criteria, and applicable building requirements with the project team. These are site-specific considerations, not automatic features or guaranteed capabilities of a particular build. Document known environmental exposures and installation conditions so the equipment design and room plan can be evaluated together.
Coordinate the proposed arrangement with utility requirements, service characteristics, protection and coordination studies, and the project’s electrical one-line. The responsible engineer should verify applicable codes and design assumptions, while the utility and Parma-area AHJ should be consulted where their requirements affect the installation. Resolve conflicts before releasing final equipment drawings.
Prepare a Quote-Ready Clearance Package
For a useful quote request, provide the one-line diagram, equipment type and intended function, system voltage, known current and fault-duty requirements, requested sections, and connection preferences. Include the room plan, elevations, access-route measurements, cable-entry direction, and identified obstructions. Clearly mark confirmed requirements separately from items still under engineering review.
A U.S. manufacturer building new switchgear and power distribution equipment with American components can review these inputs for custom fabrication and nationwide shipment, including projects in Parma. Share the desired schedule, delivery constraints, and drawing milestones without assuming a fixed lead time. Final dimensions, ratings, and clearances require project-specific confirmation before approval.