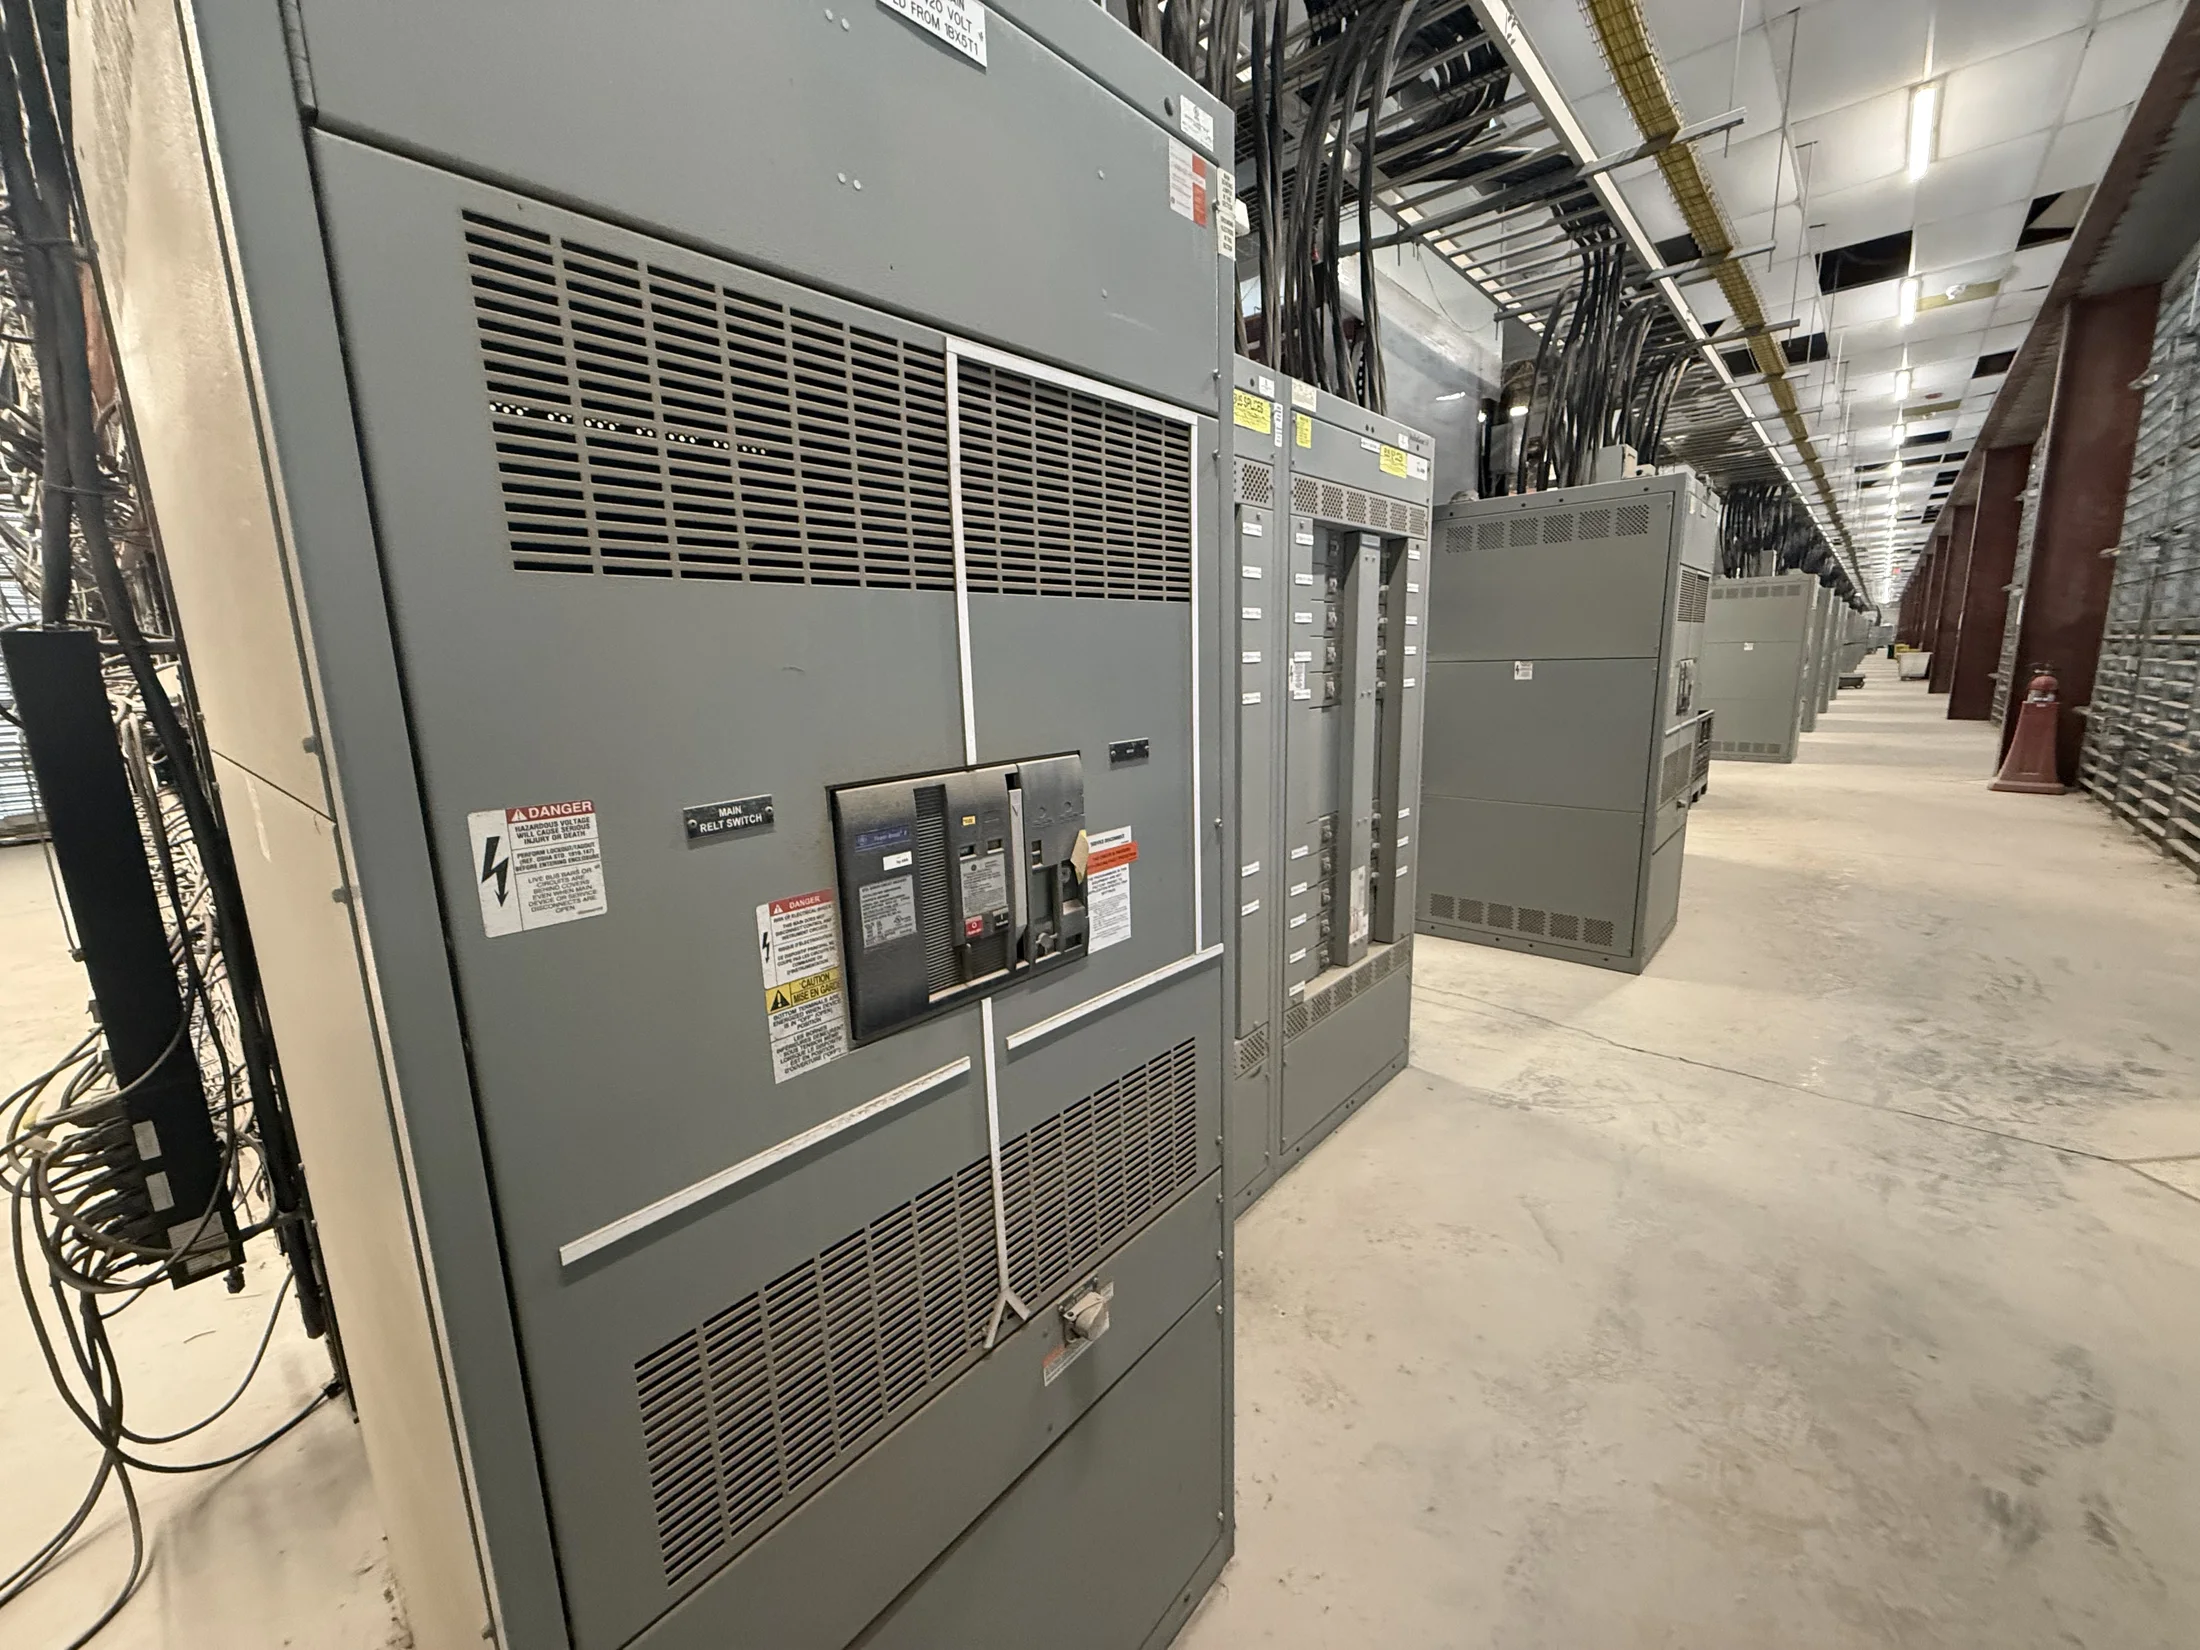
Start With the Control and Interface Scope
Terminal blocks provide organized connection points for control, metering, indication, and other circuits. Their arrangement depends on the switchgear lineup and the interfaces around it, not just the number of devices. Begin by identifying which circuits terminate inside the equipment and which continue to field devices, control panels, or customer systems.
For a quote, provide the one-line diagram, control schematics, equipment schedule, and an interface list if available. Identify expected external cables and responsible parties for each interface. Confirm which functions are included in the new equipment scope; avoid assuming that a terminal block arrangement can be finalized from a one-line diagram alone.
Make Terminal Identification Traceable
Agree on a terminal identification scheme that aligns with project drawings and panel labels. Common approaches use terminal-strip designations and sequential point numbers, but the governing project standard may specify another format. Keep device tags, wire numbers, terminal identifiers, and schematic references distinct so each label communicates one purpose without ambiguity.
Review how designations will appear on terminal markers, wiring schedules, and connection diagrams. Check for duplicate identifiers across sections, units, or compartments, especially where drawings cover a full lineup. Changes during engineering should update all affected documents and labels together; field crews should not have to infer a terminal’s function from its physical position.
Separate Field Wiring From Internal Wiring
Clearly distinguish field connections from factory-installed internal wiring. A defined field termination zone can help installers find customer connection points while keeping internal device wiring identifiable. Whether the design uses separate strips, grouped terminal blocks, or another layout depends on compartment space, wiring paths, access, and the project’s construction requirements.
Confirm cable entry locations, conductor routing, and the intended boundary between manufacturer and installer work. Consider whether external conductors enter from the top, bottom, or another specified route, and whether access is practical after installation. Segregation must also respect the equipment design and applicable requirements; the responsible engineer should review the proposed arrangement for the application.
Allocate Spare Points Intentionally
Spare terminals can support later control changes, but an unplanned reserve may not be useful. Decide how many spare points are needed by circuit type and location, and whether they should be distributed among terminal groups or kept in a designated area. Unused points should be identifiable as spare rather than mistaken for active connections.
Confirm whether spare capacity is expected for discrete inputs, outputs, analog signals, trip or alarm circuits, or other defined interfaces. These are not interchangeable needs: conductor type, circuit function, and project rules can affect grouping and separation. Provide the basis for spare quantities and any labeling convention, and have the engineer confirm that the reserve suits foreseeable modifications.
Coordinate Electrical Segregation and Constraints
Terminal layout must account for circuit function, voltage, and applicable separation rules. Control, instrument, communications, and power-related wiring may need distinct routing or grouping based on the design and governing standards. Do not assume that placing circuits on different terminal blocks alone satisfies every required separation or wiring method for a particular assembly.
Provide circuit classifications, nominal control voltages, signal types, and any specified isolation or shielding practices. Identify circuits that interface with external protection, metering, or supervisory systems. The design should be checked against the equipment configuration and project requirements by the responsible electrical engineer, with utility and AHJ review where applicable.
Build a Wiring Schedule That Can Be Used
A useful wiring schedule ties each connection to its origin, destination, terminal designation, wire identifier, and circuit function. Include enough information for installation and troubleshooting without duplicating the schematic in a way that creates conflicting records. Establish whether the schedule covers factory wiring, field wiring, or both, and make that scope clear on the document.
Agree on drawing conventions, revision control, and delivery format before fabrication. If customer cable numbers or destination labels are required, provide the naming rules and source data. Review schedules against schematics and equipment layouts for consistency, including terminal counts and cross-references; unresolved discrepancies should be clarified before the build is released for production.
Fit the Arrangement to the Equipment
Terminal blocks must fit the selected switchgear design and remain accessible for intended work. Available space, enclosure or compartment arrangement, wire duct, bend radius, conductor size, and termination method can affect how many points fit and where they belong. A requested layout may need adjustment when it conflicts with device placement or the specified wiring route.
Identify the equipment type and scope accurately, such as a UL 891 switchboard, UL 1558 low-voltage switchgear, or medium-voltage equipment. These are distinct equipment categories with different design considerations; UL 891 does not cover medium- or high-voltage equipment. Confirm applicable standards and project requirements for the actual configuration rather than assuming one arrangement fits all.
Prepare the Information for a Quote
For pricing and engineering review, submit the equipment lineup and ratings requested for the project, control schematics, terminal and cable schedules, required spare-point quantities, labeling standard, and field-entry details. Mark open items clearly, including interfaces still awaiting customer or controls-vendor data. This lets the manufacturer identify scope gaps instead of treating assumptions as confirmed requirements.
New switchgear and power distribution equipment is built in the U.S. with American components, with custom fabrication, short lead times, and nationwide shipping. Lead time and final configuration depend on approved project details and material requirements. Before release, coordinate drawings with the installer and responsible engineer, and obtain utility or AHJ review where the project requires it.