Joint design starts with the equipment configuration
A bolted bus joint connects conductor sections through overlapping contact surfaces and a defined fastener pattern. Its design depends on the equipment lineup, bus material and plating, conductor dimensions, current path, and available space. Those details determine whether a proposed joint suits the assembly and its electrical and mechanical requirements.
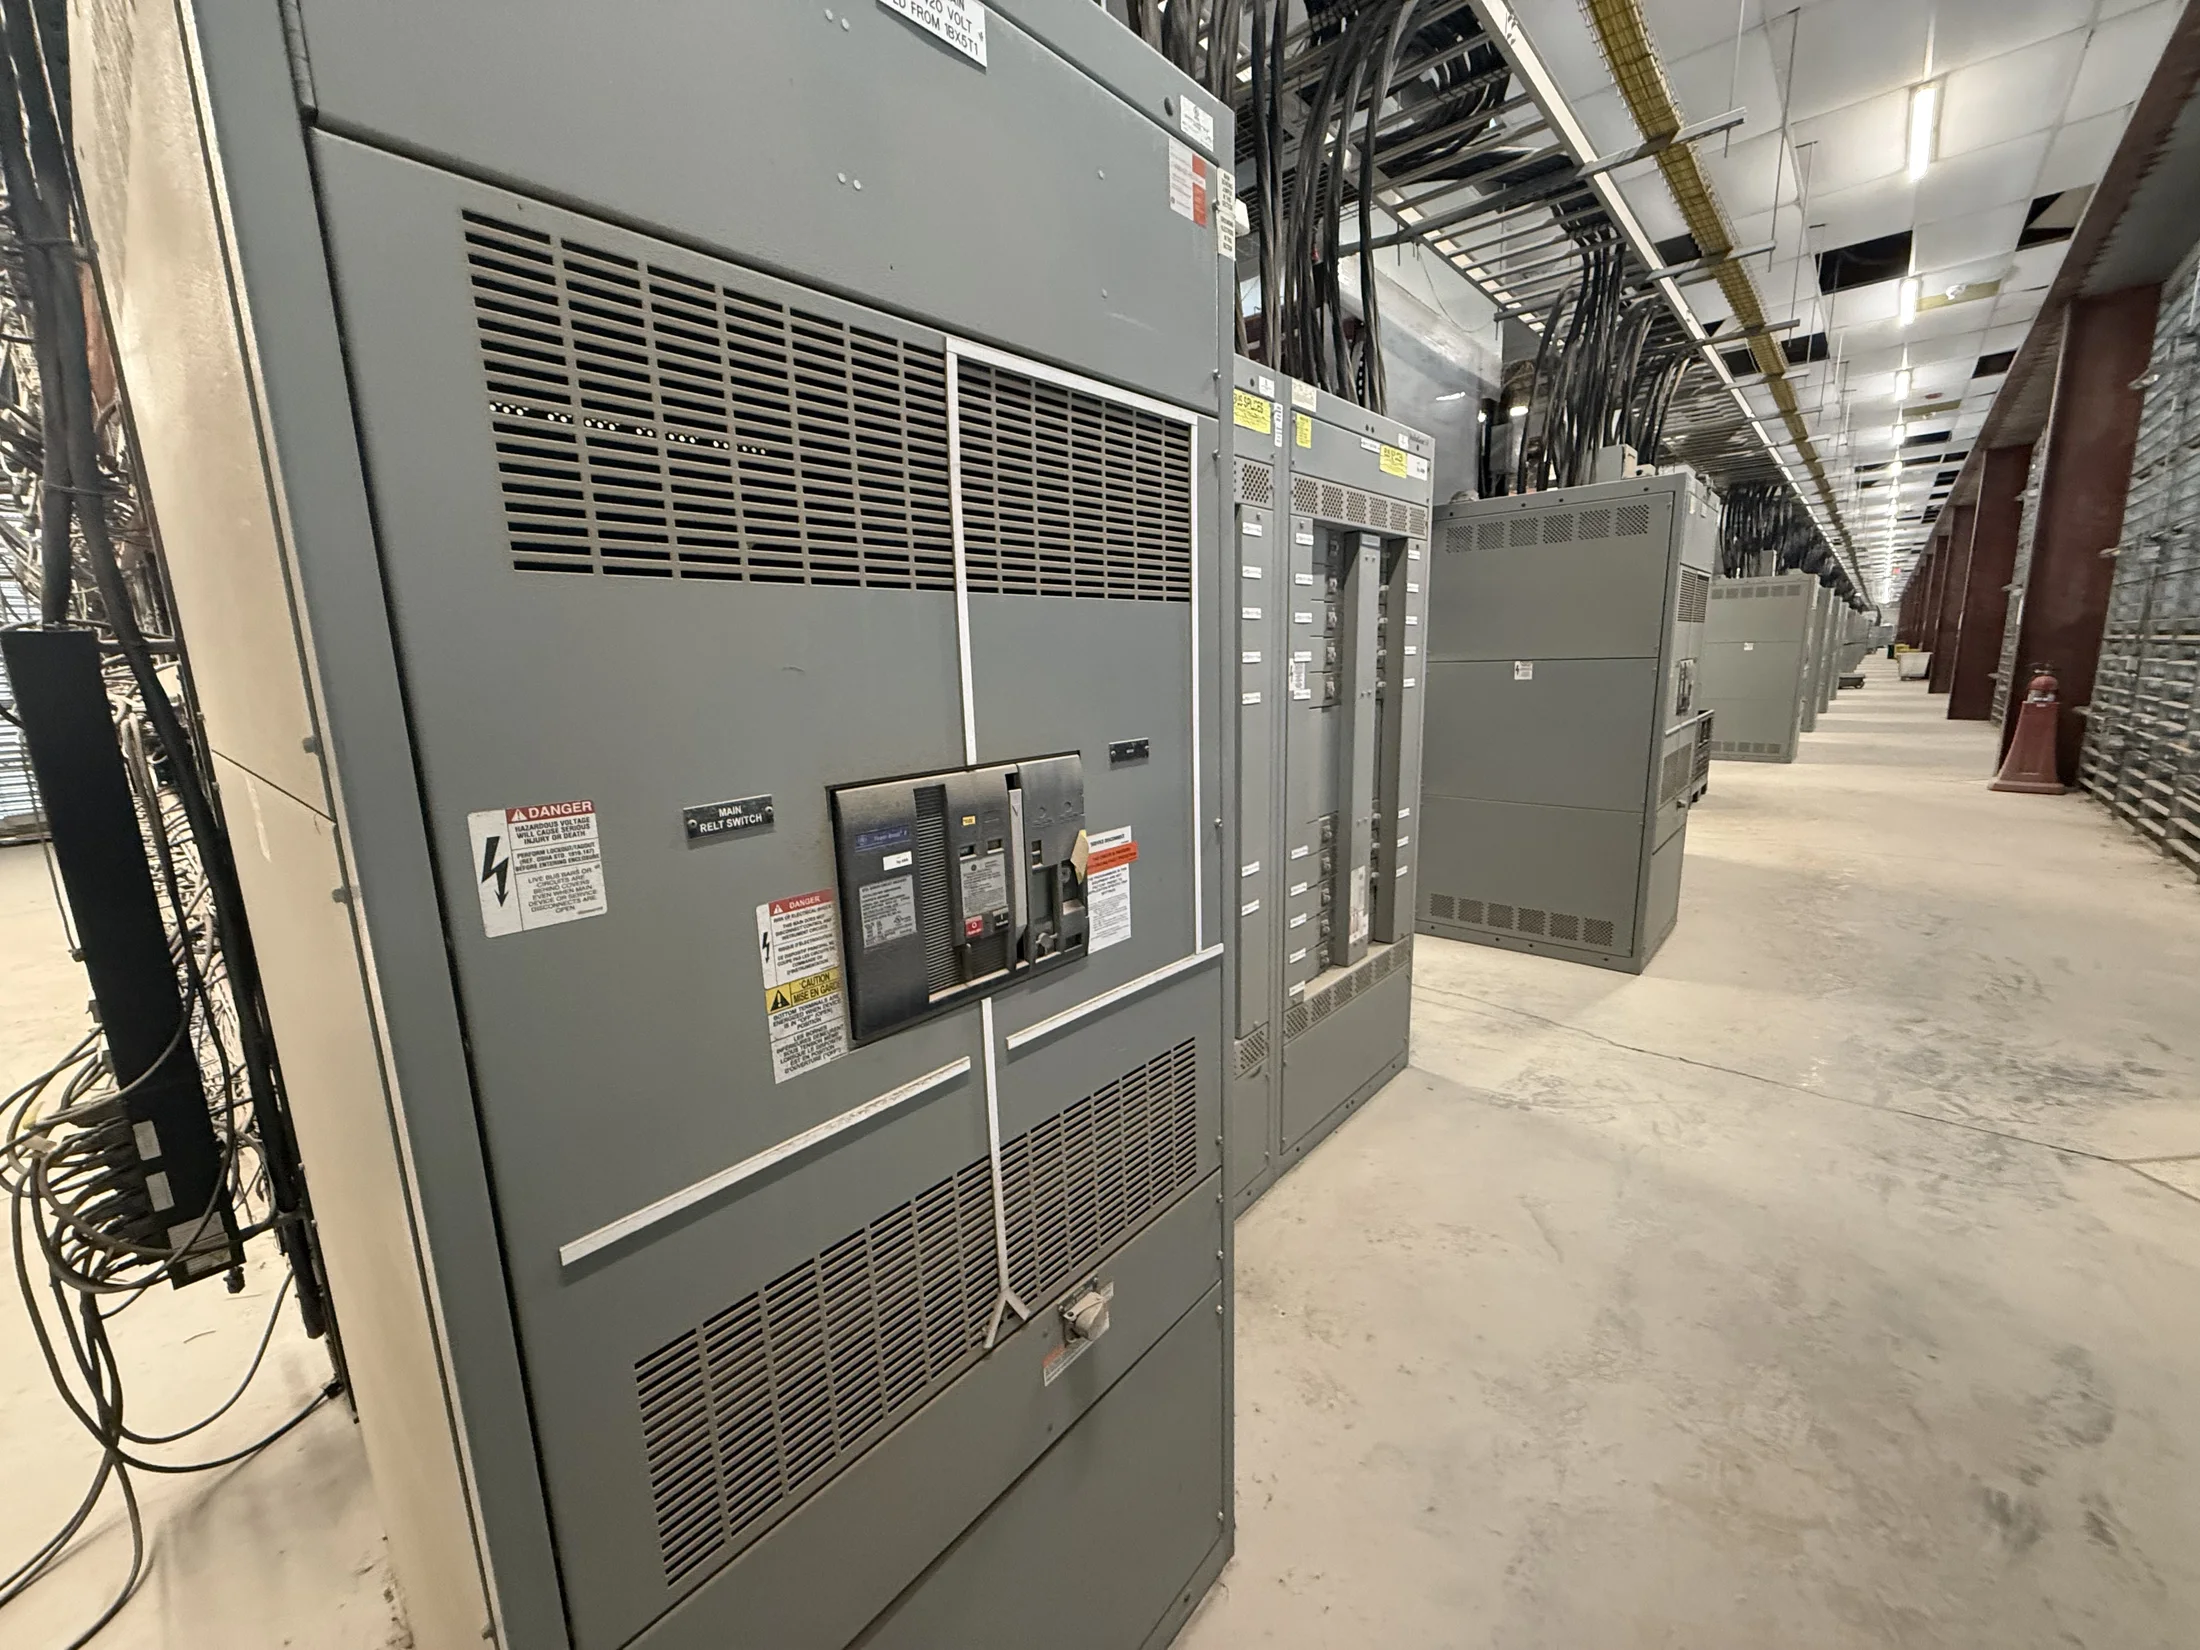
For a quotation, provide drawings or dimensions, equipment type, nominal system voltage, bus material, joint location, and applicable project specifications. Identify whether the assembly is a UL 891 switchboard, UL 1558 low-voltage switchgear, or medium-voltage equipment. These categories have distinct construction requirements; UL 891 does not apply to medium- or high-voltage equipment.
Select fasteners for materials and service conditions
Fastener selection is not simply a matter of choosing a bolt that fits the hole. Engineers consider bolt material, diameter, length, thread engagement, washer arrangement, and compatibility with the bus metal and finish. The specified combination must support the joint design without introducing unacceptable corrosion, galvanic interaction, or interference with nearby parts.
Service conditions also matter. Temperature variation, vibration, moisture exposure, and enclosure location can affect material and hardware choices. Confirm project standards, environmental conditions, and any requirements for locking features or coatings. Do not substitute hardware based only on appearance or nominal size; approve changes through the responsible engineer and applicable equipment documentation.
Prepare contact surfaces without damaging the bus
Before assembly, contact faces need to match the approved joint design and be free of foreign material that could disrupt contact. Inspect for burrs, raised edges, handling damage, oil, dirt, and corrosion. Cleaning methods must suit the bus material and plating; aggressive abrasion can remove a protective finish or alter surface geometry.
Keep prepared surfaces protected from contamination while parts are staged, and handle conductors to avoid fingerprints or accidental scratches where these could affect the interface. Follow the manufacturer’s work instructions for cleaning, compounds, or barriers, if specified. Record any damage that cannot be corrected by an authorized process, then hold the parts for disposition.
Align the joint and verify the hardware stack
Bring bus sections together so holes align naturally and contact faces seat as intended. Forcing misaligned parts with bolts can distort conductors, load supports, or leave uneven contact. Check the specified overlap, orientation, edge clearances, and insulating barriers against the assembly drawing before installing fasteners.
Confirm the fastener stack order, washer type and placement, and nut orientation from approved instructions. Check that bolt length provides the required thread engagement without bottoming out or projecting into adjacent clearances. If holes do not align or the stack differs from the drawing, stop and resolve the discrepancy rather than enlarging holes or improvising hardware.
Use tightening instructions tied to the approved design
Tightening requirements should come from the approved equipment design, component instructions, or project-specific engineering documentation. A torque value cannot be safely generalized across bolt sizes, materials, coatings, lubrication conditions, and joint geometries. The applicable instruction should identify the fastener combination and method so assembly personnel can verify they are following the correct procedure.
Use a suitable, calibrated torque tool where the procedure calls for torque control, and apply the sequence or staged approach specified for that joint. Tool access and reaction forces can affect execution, especially in compact lineups. If the specified value or method is missing, conflicting, or impractical, obtain engineering clarification before tightening.
Control assembly conditions and prevent rework
A repeatable assembly process includes clean hardware, consistent tool setup, clear work instructions, and a defined way to identify completed joints. Keep loose parts segregated by joint or assembly where mixed hardware could create confusion. Protect adjacent insulation and components from tools, metal debris, and accidental contact during installation.
Rework requires controlled disposition. If a fastener is removed after tightening, or a joint is loosened for alignment, determine whether hardware may be reused and whether surfaces need reinspection or renewed preparation. The answer depends on the approved procedure and hardware specification. Document the action, preserve traceability, and do not assume a retightening pass restores an undocumented joint.
Inspect the finished joint and record evidence
Inspection should verify visible assembly conditions against the drawing and work instructions: correct hardware, seating, alignment, clearances, and absence of obvious surface damage or foreign material. Where torque verification or witness marking is required, use the specified method. A mark alone does not establish that the correct torque was applied unless the procedure defines it as evidence.
Useful records identify the equipment or section, joint location, drawing or instruction revision, fastener specification, tool identifier and calibration status when required, assembly date, and responsible personnel. Capture inspection results, exceptions, and approved dispositions. The project’s quality plan and customer requirements determine the records needed; avoid claiming checks or tests that were not performed.
Scope the build and quote with complete inputs
A clear request for a new switchboard or switchgear assembly should include one-line diagrams, bus schedules, general arrangement drawings, connection details, ratings, enclosure conditions, and governing specifications, as applicable. Identify joint locations requiring special access, material or plating preferences, documentation expectations, and any site or utility interface constraints.
The U.S. manufacturer builds new electrical distribution equipment with American components, offers custom fabrication, short lead times, and nationwide shipping. Final configuration, approvals, schedule, and available construction depend on design review and project scope. Have the responsible engineer confirm electrical requirements and consult the utility and AHJ where their review applies.